Exploring the Add-In for Word
|
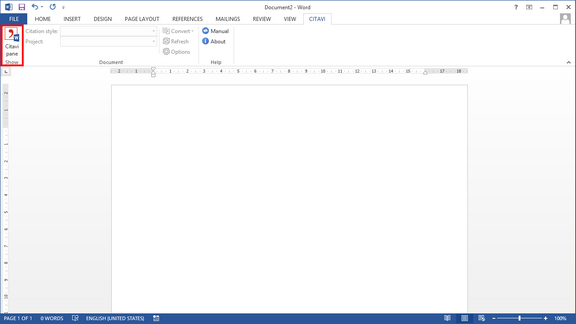
After installing the Word Add-In for Citavi, you will see a new Citavi tab in Word. Click the Citavi tab and then click Citavi pane.
|
|
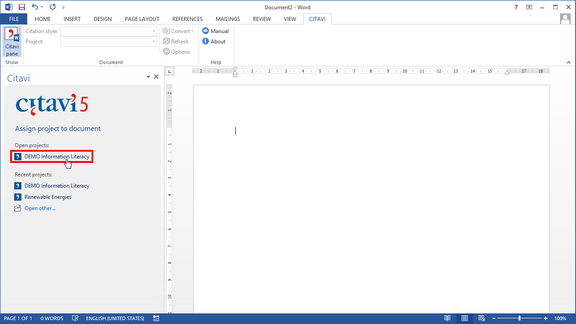
Assign the project you want to use to the document.
|
|
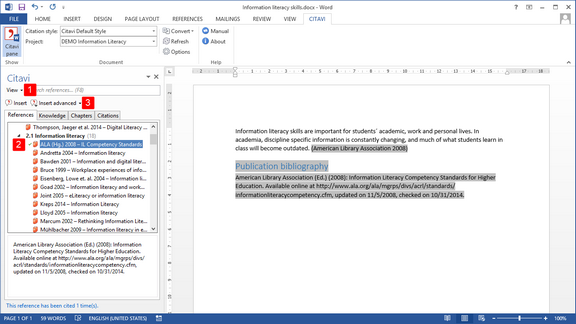
The References tab displays all of the references in your project. By clicking the
1 View drop-down menu you can arrange these by category, keyword, or by person.
Double-click a reference to insert it into your document.
2 A checkmark appears next to each inserted reference. Instead of double-clicking you can select a reference and then click Insert or
3 Insert advanced.
|
|
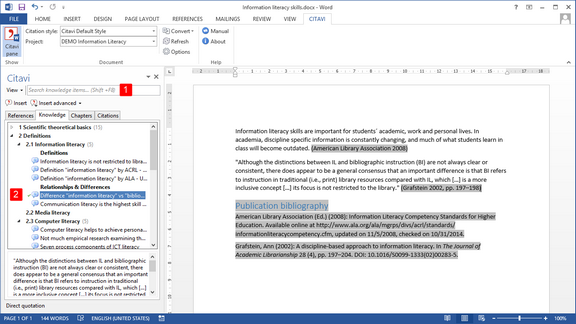
The References tab displays all of the references in your project. By clicking the
1 View drop-down menu, you can arrange these by core statement, short title, category or keyword.
Double-click a knowledge item to insert it into your document.
2 A checkmark appears next to each inserted knowledge item.
|
|
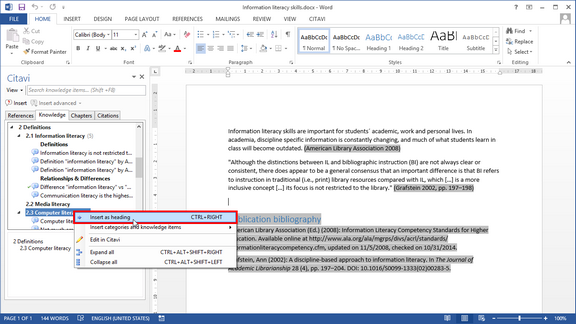
You can insert categories into your Word document, either individually or all at once.
|
|
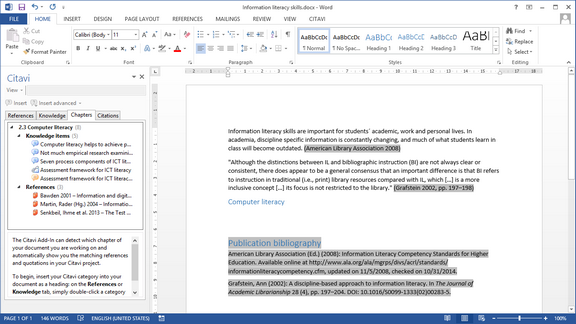
If you want to use the Chapter tab, you should insert your entire category system as an outline. When you place the insertion point under a heading, you will then be able to view just the references and knowledge items in that category.
|
|
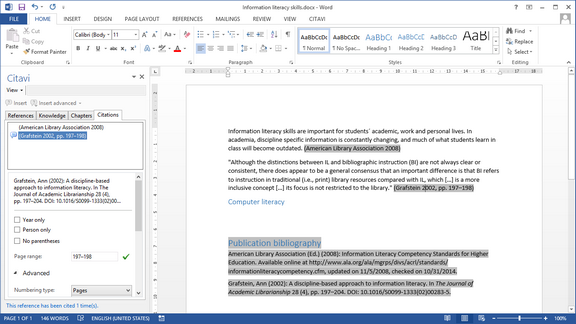
On the Citations tab, you can see which references you have cited and change their formatting if desired.
|
|
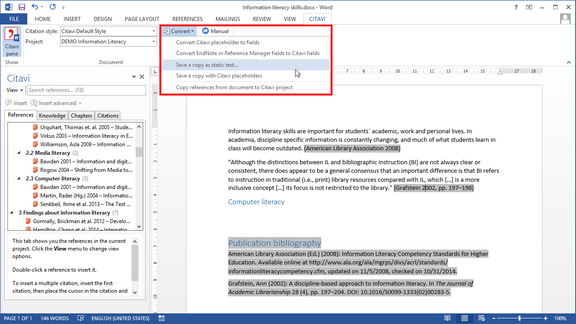
On the Convert menu, you can convert Word Add-In fields to static text, among other options. Many publishers require this.
|
|
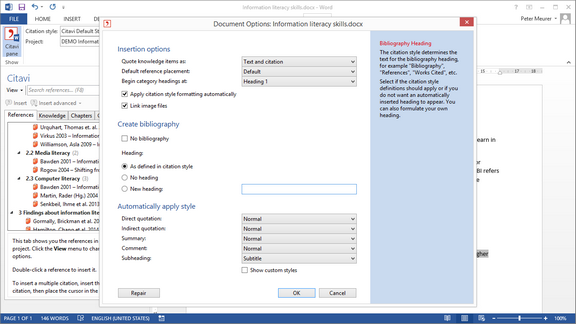
On the Options menu you can customize the Add-In for Word in many ways.
|