Distributing settings directly with Citavi
It's only possible to create settings files for your organization if your organization has a site license for Citavi. Members of your organization can only work with the settings if they are logged into a Citavi account that is affiliated with your organization.
To create a settings file and distribute it to all members or your organization, you need special rights. Contact the Citavi Team so that we can grant you these rights in your Citavi Account.
- Start Citavi.
- Log in to the account containing the rights above.
- Open any project.
- Select the desired settings.
- On the Tools menu, select Import or export settings > Manage organizational settings. (This entry is only visible if you have the necessary rights as described above.)
- Click New.
- Give the settings file a name, for example Life Sciences.
- Describe the contents of the file. Your users will see this description when they are selecting settings files to import.
- Select who can import the settings:
Make public for all users with a site license means that all site license users will be able to import the settings file.
Grant access only to settings file administrators (test) means that only people with the rights for creating settings files will be able to import them. - Click Next.
- Select which settings should be distributed.
- Click Save.
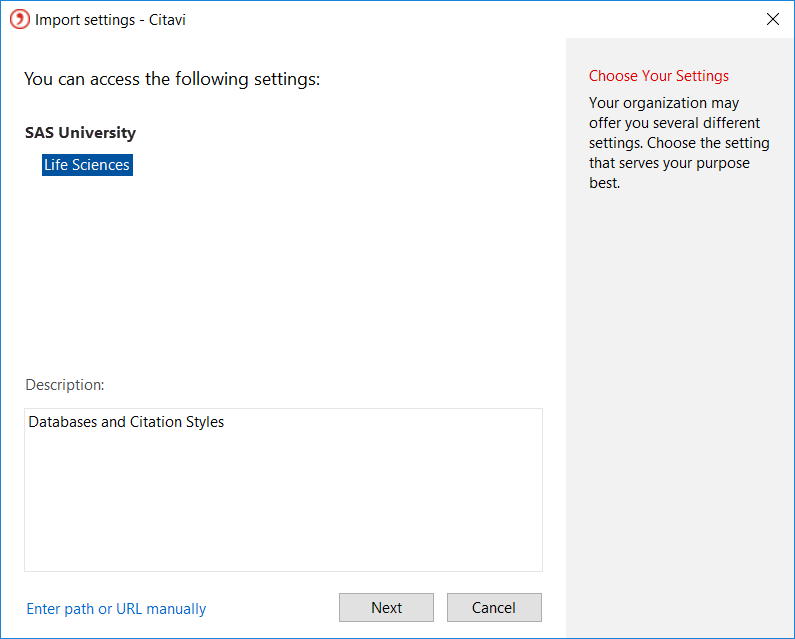
The settings will be immediately available for all site license users:
Hint
You can also offer a settings file over your RSS feed. To do so, give your blog post a certain tag comprised of the abbreviation ctv-os: and the ID of the settings file. Example: ctv-os:alphaytbt8whbrgbhkpcgxt34ssniovf8ne0sphhfuscgo