Exploring the Add-In for Word
Video: Exploring the Add-In for Word
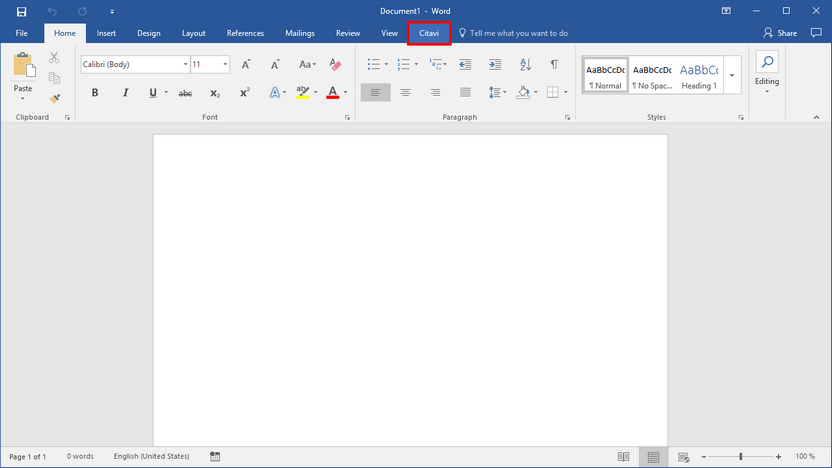
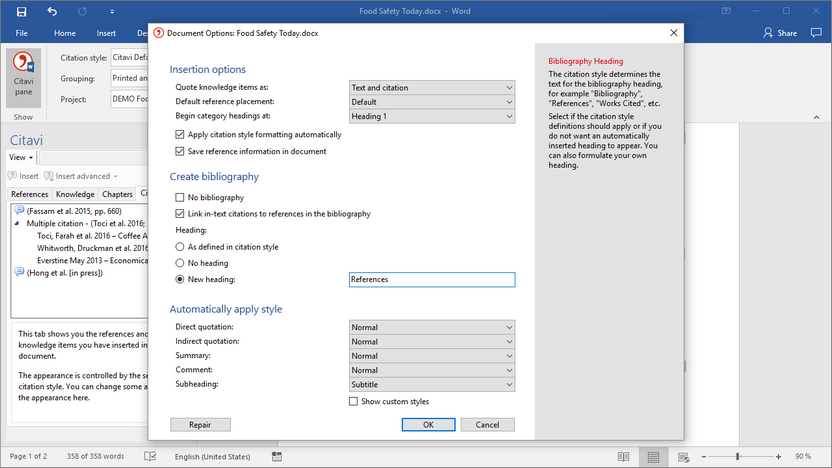
1 After installing the Word Add-In for Citavi, you will see a new Citavi tab in Word. Click Citavi, and then click Citavi pane.
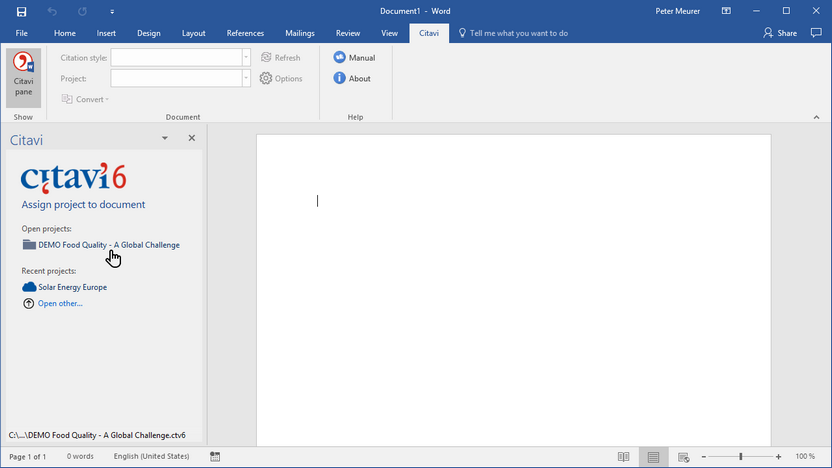
2 Assign the project you want to use to the document.
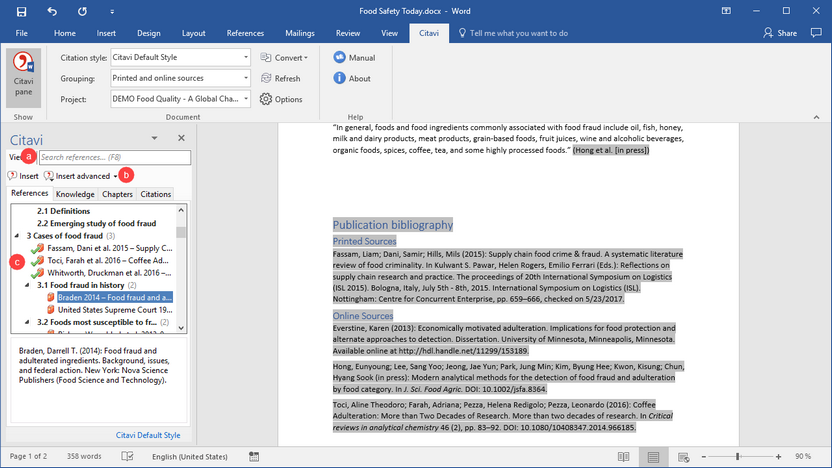
3 The References tab displays all of the references in your project. By clicking the a View drop-down menu you can arrange these by category, keyword, or by person. Double-click a reference to insert it into your document. Instead of double-clicking, you can also select the reference and click Insert or b Insert advanced. A c checkmark appears next to each inserted knowledge item.
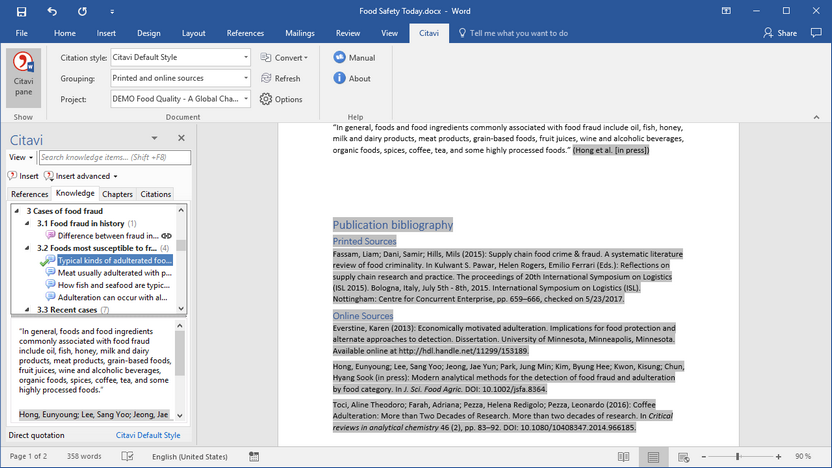
4 The Knowledge tab contains all of the knowledge items in your project.
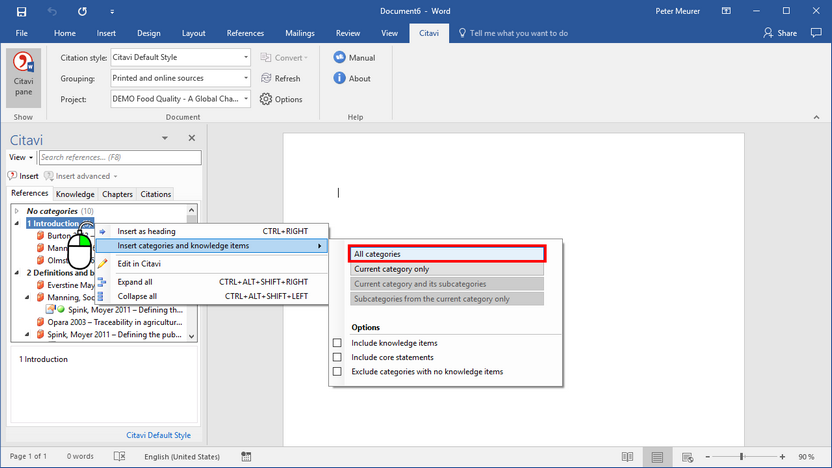
5 To use the Chapters tab, insert the categories from your project into your Word document.
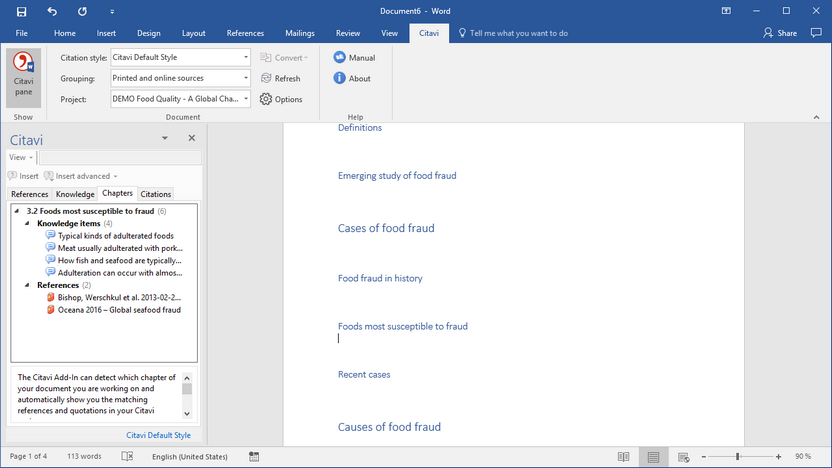
6 When you place the insertion point under a heading, you will then be able to view just the references and knowledge items in that category.
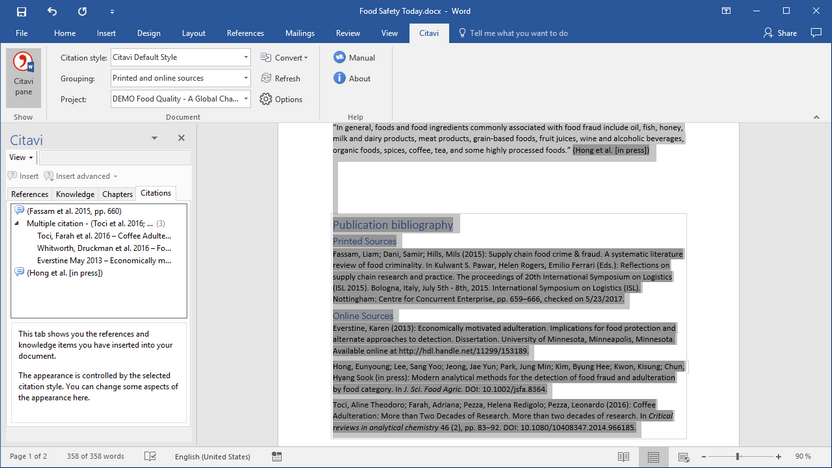
7 On the Citations tab, you can see which references you have cited and change their formatting if desired.
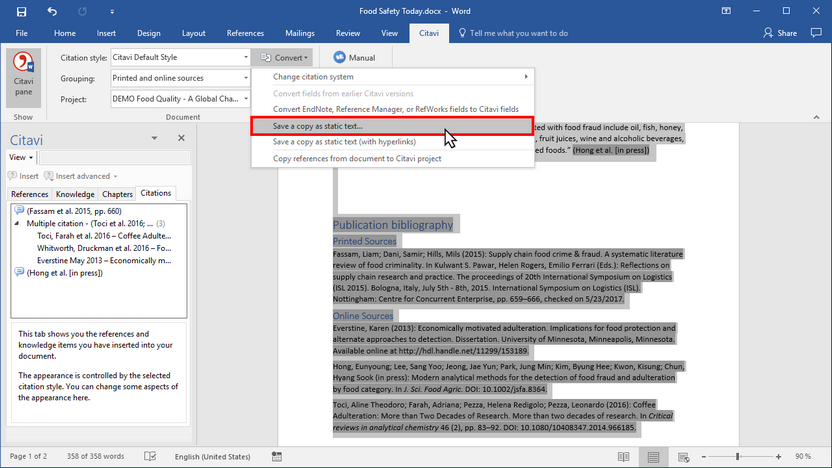
8 On the Convert menu, you can convert Word Add-In fields to static text, among other options. Many publishers require this.
9 On the Options menu you can customize the Add-In for Word in many ways.
